
Creating your own musical instrument is a rewarding experience that is accessible to everyone. This comprehensive guide takes you step by step through making a homemade kalimba, a small instrument with African sounds. Whether you are a beginner or a music enthusiast, this activity provides unique creative satisfaction.
The advantage of this method lies in its customization. You can adapt every detail to your preferences while saving money compared with buying one from a store. However, it is essential to prepare properly to avoid common mistakes, such as getting started without a plan.
The choice of materials plays a key role in the final sound quality. Choose accessible, durable components to produce a functional instrument. Ready-to-assemble kits are also available for those who prefer a simpler solution.
Introduction to the kalimba
The kalimba, also known as the mbira, is a treasure of traditional African music. This percussion instrument has roots in African cultures, where it was used during spiritual and social ceremonies. Its rich history makes it a symbol of African musical culture.
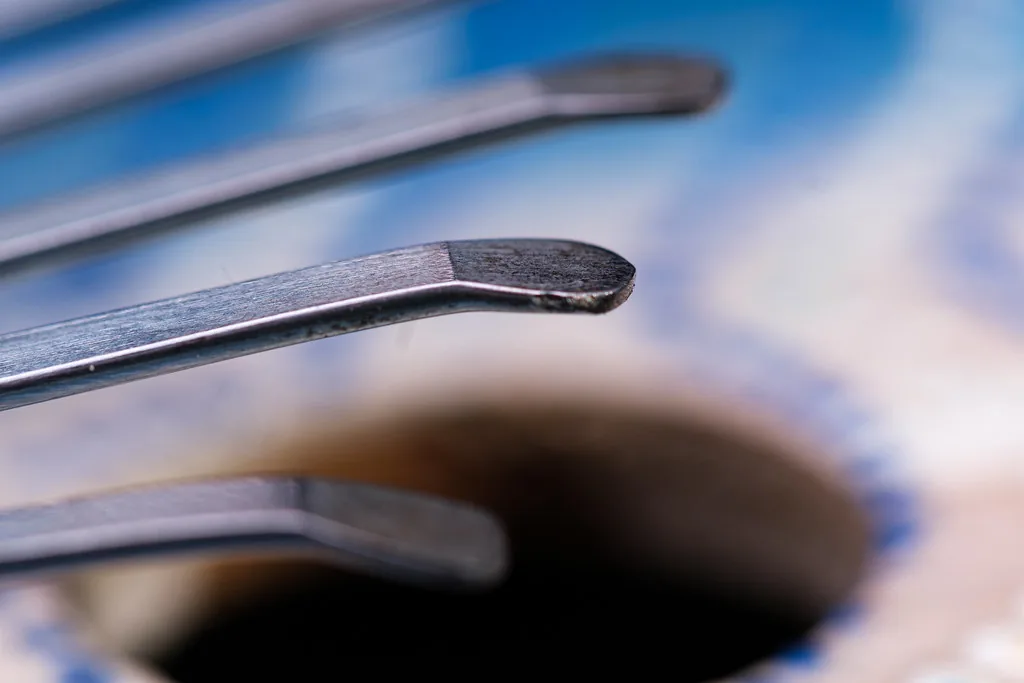
The kalimba consists of several different instrument parts that work together to produce melodic sounds. The metal tines, mounted on a soundboard, vibrate when plucked, creating distinctive notes. The length of the tines determines their pitch and makes it possible to play a varied range of melodies.
The soundboard, which is often made of solid wood, plays a key role in sound quality. It amplifies the vibrations of the tines, while the resonator, usually a wooden or bamboo box, enriches the tone. These different instrument parts make the kalimba a versatile and captivating instrument.
To learn more about the history and functions of this instrument, consult this resource about the kalimba. With its African origins and enchanting sounds, the kalimba continues to inspire musicians around the world.
Preparation before you begin
Good preparation is essential before you start creating an instrument. It helps you avoid common mistakes and achieve a high-quality result. Careful planning ensures that you have a firm grasp of every step.
Understanding how the kalimba works
The kalimba is based on a simple but ingenious design. The metal tines, mounted on a soundboard, vibrate when plucked. These vibrations are amplified by the resonator, creating melodic sounds.
Each part has a specific role. The pressure bar holds the tines in place, while the front and rear bridges transmit the vibrations. A distance of 1 cm between the rear bridge and the edge is recommended for optimal sound.

Choosing the right materials
The choice of materials directly affects the instrument’s sound quality and durability. For the soundboard, choose dense woods such as mahogany, padauk, or rosewood. These woods offer excellent resistance to vibration.
You have several options for the tines: bicycle spokes, rake tines, or a precut kit. Metal bridges are also important for transmitting vibrations effectively.
| Component | Recommendations |
|---|---|
| Soundboard | Mahogany, padauk, rosewood |
| Tines | Bicycle spokes, rake tines, precut kit |
| Bridges | Metal for better transmission |
| Dimensions | 20 × 15 × 2 cm for 17 tines |
If you want an environmentally friendly solution, consider using tin cans or calabashes as resonators. These reclaimed materials can give everyday objects a second life.
Finally, make sure you have the right tools for working the wood and securing the tines. A fine saw, drill, and pliers are essential for a precise design.
Required materials and tools
Choosing the right materials and tools is crucial to making a high-quality instrument. Each component has a specific role in the instrument’s performance and durability. Here is what you will need to get started.
The wooden base
The wooden base forms the foundation of your instrument. It directly affects resonance and stability. A mahogany, padauk, or rosewood wooden board is ideal because of its density and ability to amplify vibrations.
If you prefer a more economical solution, you can use plywood, although it provides less rich resonance. To learn more about the materials required, consult this detailed resource.
The metal tines
The metal tines are responsible for producing the sounds. They must be made from durable metal. You can use bicycle spokes or rake tines, for example. Precise cutting and flattening with a hammer help them vibrate more effectively.
For those seeking a simpler solution, some DIY kits include preassembled parts. This makes the process much easier, especially for beginners.
Finally, do not forget the essential tools: a 3 cm hole saw, a Dremel rotary tool for sanding, and neoprene glue for assembly. These items ensure precise and safe construction.
Steps for making the kalimba
Making a musical instrument involves key steps that ensure the best possible result. Each phase must be completed carefully to produce a functional and attractive instrument. Here is a detailed guide to help you through the process.
Designing the base
The first step is to prepare the base. Use a scroll saw to cut a wooden board to the appropriate dimensions. Its length and width should suit the planned number of tines.
Next, carry out the sanding in stages. Start with 80-grit sandpaper to remove rough spots, then finish with 220-grit paper to achieve a smooth surface. This will give you a surface ready for assembly.

Securing the tines
Securing the tines is a crucial step. Use a Dremel rotary tool to create grooves in the base where the bridges will be placed. These grooves keep the tines stable.
To secure the bridges, apply neoprene glue and tap them in gently with a hammer. This technique ensures a strong bond. Make sure the tines are aligned before gluing them permanently.
Final assembly
Final assembly includes attaching the pressure bar. Drill two holes at the ends of the base and insert screws to hold the bar in place. Tighten the tines gradually beneath the bar to prevent misalignment.
Finally, check the alignment of the tines and adjust them if necessary. A well-assembled instrument provides better resonance and an optimal musical experience.
| Step | Details |
|---|---|
| Designing the base | Cutting, sanding, creating grooves |
| Securing the tines | Gluing the bridges, aligning the tines |
| Final assembly | Drilling, attaching the pressure bar |
Tuning and finishing
Tuning and finishing are essential steps in bringing your instrument to life. These final phases ensure harmonious sounds and optimal resonance. They also allow you to add a personal touch to your creation.
Tuning the tines
To tune the tines, use an electronic tuner. This tool allows you to adjust the frequency of the notes in hertz (Hz). One simple method is to file the ends of the tines to adjust their length.
Here is a reference table for beginners:
| Length (cm) | Frequency (Hz) |
|---|---|
| 8 | 440 |
| 7 | 494 |
| 6 | 523 |
This technique produces precise, harmonious notes. For greater durability, apply an anti-rust treatment to untreated steel tines.

Customization
Customizing your instrument gives it a unique touch. Use note-name stickers to label the tines. This makes it easier to learn and identify the notes.
For creative decoration, try woodburning or acrylic paint. These techniques let you add patterns or colors to your instrument. Educational customization can include color coding for the pentatonic scale.
Finally, to alter the harmonics, add modeling clay to the tines to make them heavier. This tip allows you to adjust the sounds to your preferences.
Conclusion
Making a musical instrument at home is a creative and rewarding adventure. This guide has helped you acquire basic instrument-making skills, opening the way to more ambitious projects such as creating chromatic or bass kalimbas.
To care for your musical instrument, apply linseed oil every month and keep it in a dry place. These simple measures ensure lasting sound quality.
Feel free to share your creations on social media. You will also find video tutorials and forums where you can deepen your knowledge. If you encounter difficulties, a professionally made model can be an excellent alternative.
Making your own kalimba is a unique experience. Whether for enjoyment or to explore new sounds, this activity offers incomparable satisfaction.